Hair Flying Everywhere - Follow up with Corey Gale at Coren's
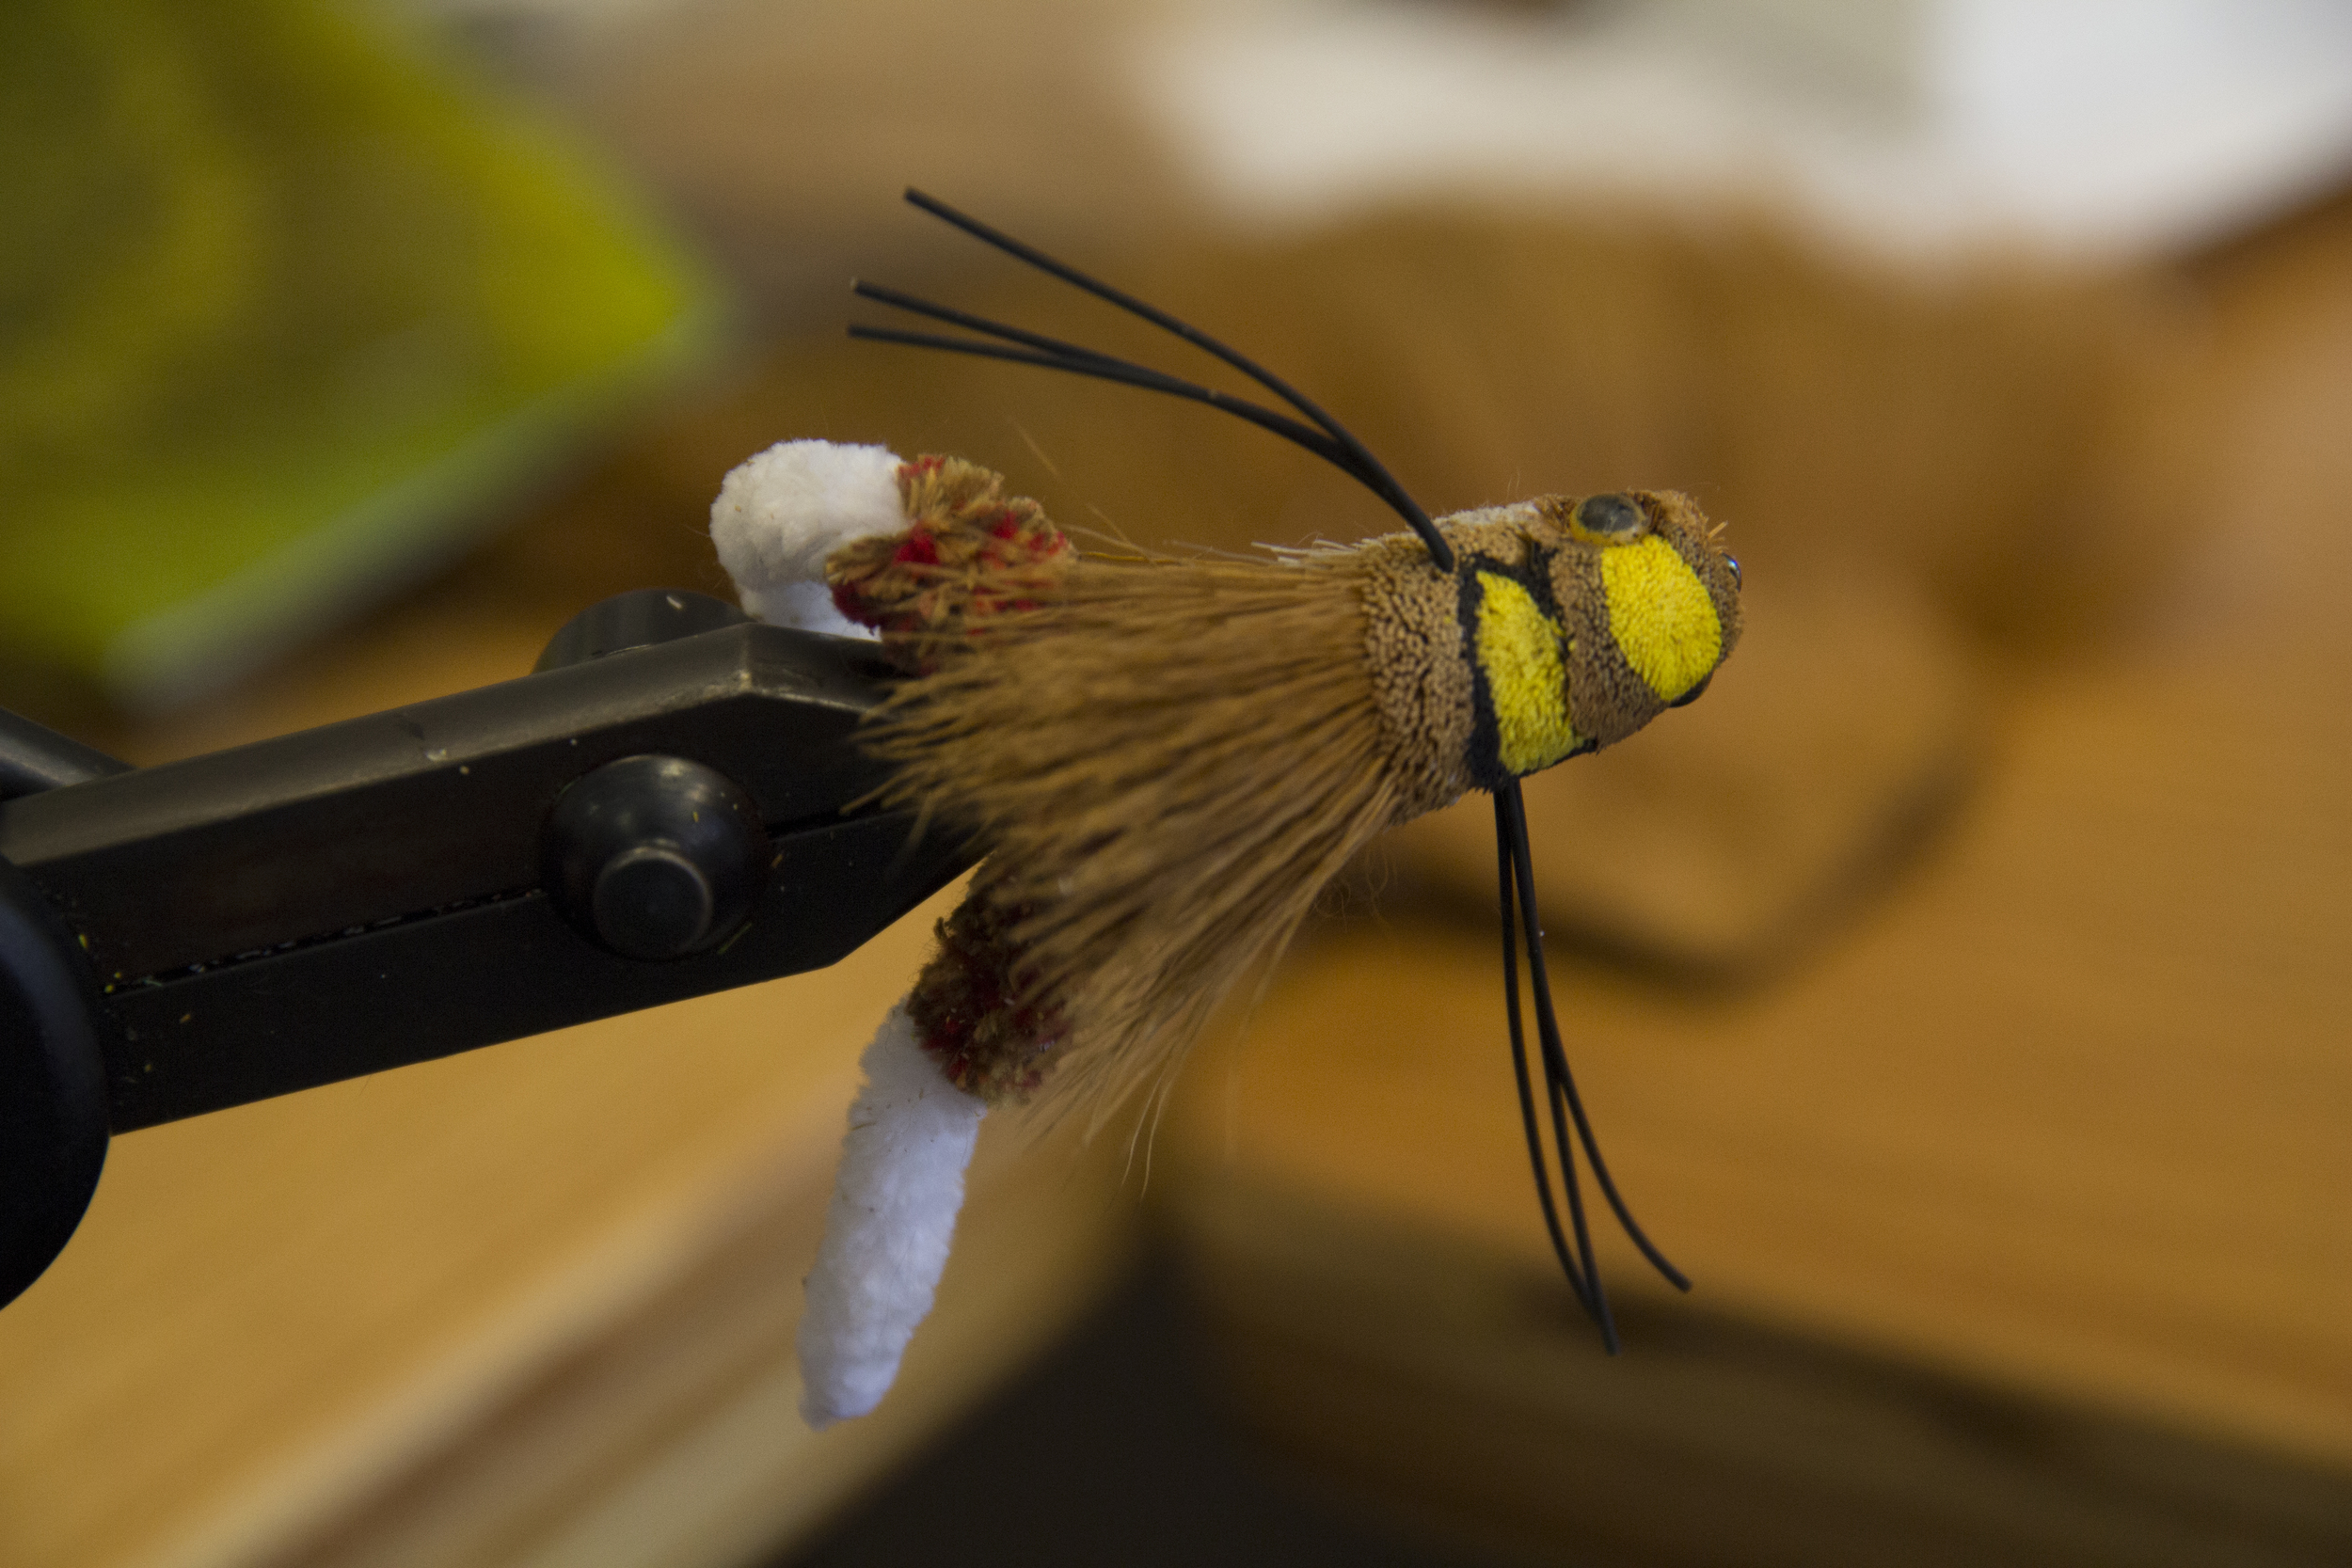
Deerhair bugs are what H. G. Tapply loved to cast. He wrote a book about then and they’re often referred to as Tap’s bugs. The art of spinning deer hair has progressed quite a bit from those simple flat faced bugs. Now we have sliders, poppers, divers and any number of odd and interesting shapes.
Deer hair and I don’t get along all that well, it’s a bit fussy for me and my wife doesn’t like the bits and pieces that find their way into the laundry, carpeting and even the occasional cheese sandwich. But there are few flies that can match the “coolness” factor of a well tied bass bug.
But deer hair bugs can be frustrating. So I was encouraged to read, Deer hair should be fun, not frustrating, written on the top of the handout that Cory brought to his clinic. And he’s correct, the right tools, the right techniques and the right materials, make it fun. They also make it easier.
So I’m going to share some pointers that I learned from Cory and suggest that you check back to this blog from time to time to see when he’ll be doing his class again. It is well worth the time and you also leave with two bass bugs and some new knowledge about what a good bass bug should look like and what you have to do to make deer hair float like cork. It all starts with the proper proportions and the mantra: Don’t crowd the hook eye.
Pointer one: use gel spun, nothing flares hair like this stuff or is better at holding the hair in place.
Two: get a good hair stacker and in this case, bigger is better.
Three: scissors and razor blades need to be sharp
Four: Once you’ve tied on the tail, take a look at the shank of the hook and divide it into segments where you’ll be tying on the hair. On most this will be three maybe four segments. My suggestion is if you can’t imagine that part, then mark it with a sharpie. You do this so that when you grab that clump of deerhair, you’ll know how big a clump to grab. If the clump is too small, you’ll have to add more near the hook eye and that makes that last wrap around the hair difficult and if you take too much you’ll crowd the eye. So by taking the right amount, you’ll have an easier time stacking and or spinning the hair.
And Five: if you want more, you’ll have to attend a class or maybe I can talk Cory into doing a video, but any who, the last tip is when you’re stacking hair, use your thumb and forefinger to control the hair and keep it from sliding around the hook. There’s a photo about that in this group. So if you keep your thumb and forefinger controlling the hair on the hook shank, it won’t roll about, it will stay separated and you have much greater control over the materials.
So those are a few of pointers for those of you interested in deer hair. Good glue is another. I suggest and Cory insists that you buy a bottle of Fly-rite, (Fly Tite) no toxic head cement. Some fly shops might carry it but I suggest that you go to www.whitetailflytieing.com and order a bottle. It won’t dry up on you like head cements and it does an excellent job of holding the thread and hair in place. If you need to thin it, just use denatured alcohol.
The crowd was as expected and if you came after 9:15, there was only SRO, (standing room only). We had coffee and donuts too, always good to have coffee. And Cory took us through tools, materials and then right into tying bass bugs. Like all good teachers, Cory took his time, worked one on one with those having difficulties and shared his experience learning from Chris Helms and brought a selection of some very nice bugs he’s tied.
I learned a few new tricks this time that I intend to apply to my own tying. And I finally had a bass bug that looked like it was supposed to, well packed, colorful and yep, I intend to cast it. Most of all, Cory is right, the proper tools and technique make it fun, not frustrating. You also tie quicker and so what might have taken you, say an hour, might take half that time.
So next time, hope to see you at Coren’s Rod and Reel. You’ll be glad you came and spent the time.


